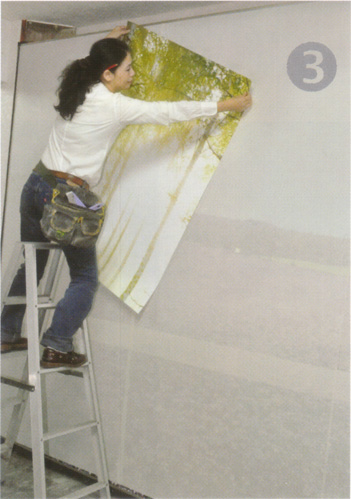
How to Hang Wall Murals
How to DIY Wall Murals
Please remember these instructions are General and you must read the instructions on your specific wall mural.
These are instructions for the two most common types of wall murals we supply.
These are
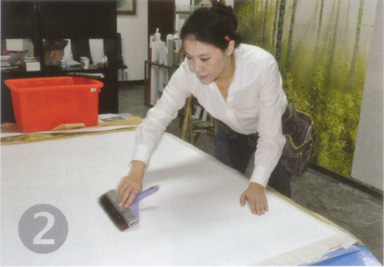
- Paste the Paper
- Non woven ( Paste the Wall)
Wall Preparation & Condition
Wall surface must be dry, firm, evenly absorbent, clean and smooth.
All plaster surfaces should be sealed with the recommended wall sealer for Wallpaper This may be Zinsser Shieldz or a good quality Wallpaper "Size".
Any shiny surfaces such as glass or laminate appropriately treated please ask our staff for directions as per your individual circumstances.
If you are unsure about the suitability of your surface or have any questions relating to wall coverings and installation please contact our friendly staff we will be happy to assist you with your inquiry.
https://wallpaperbrokers.com.au/pages/contact-us
Paste the Paper
|
||
 |
|
|
 |
|
|
|
||
 |
||
Non Woven Paste the Wall Murals
Please check with your product for specific instructions however